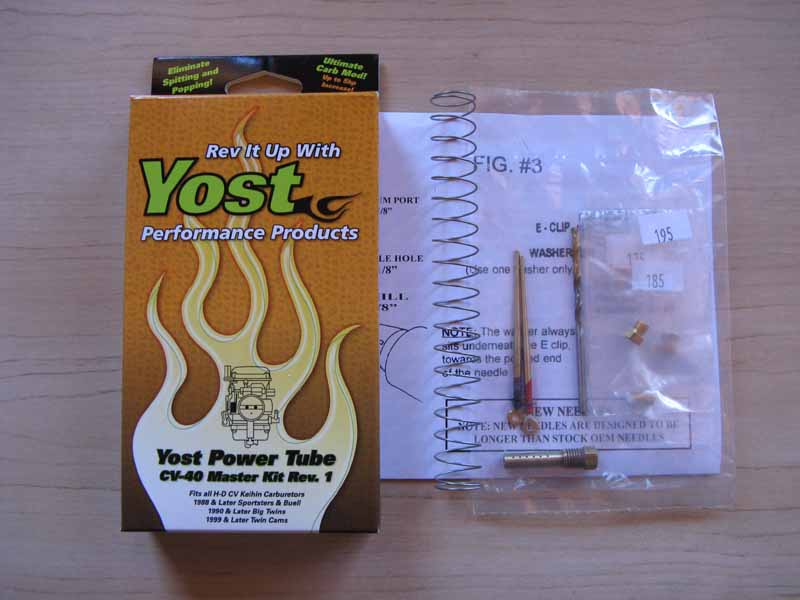
The Yost "Power Tube" Jet Kit
CV-40 Master Kit Rev. 1
I have been making my CV carb kits since around 2003, and I began using the "Dyno-Jet" #8105 jet kits for H-D's from the 1990's. It worked OK, but had some problems, where the owner needed to do some things different. I switched over to the Yost "Power Tube" jet kits, and had much better results. The Dyno-Jet kits asked to have the slide vacuum hole to be drilled out too much, and their slide spring is also too weak. These (2) things cause the slide to bob up and down at gentle throttle openings, and particularly at around 50 mph. The Yost kit asks for a .125" vacuum hole, but I found that a .106" hole works much better. The Yost comes with a spring that is the same strength of a factory spring. But, the real majic with the Yost is in it's emulsion tube. The tube has an inner tube with a bunch of tiny pin holes to help to break up the fuel into a fog as the fuel enters into the venturi. Modern fuel is blended for "Fuel Injection", and is much less willing to atomize on it's own into a combusible mixture. That is why Linkert carbs just don't work well anymore. A Linkert will show black soot on the plugs, and tail pipe appearing as though the bike is running rich. It's just blowing un-burnt fuel through the bike. The bike may look rich, but it is actually running very lean (and hot!). The fact that the Linkert gets such poor fuel milage implies that it is too rich, but it's just alot of un-burnt fuel passing through the motor! The Yost really does a good job breaking up the fuel droplets. It is a better design, and improves the overall drivability everywhere. I feel more low-end torgue from the Yost.
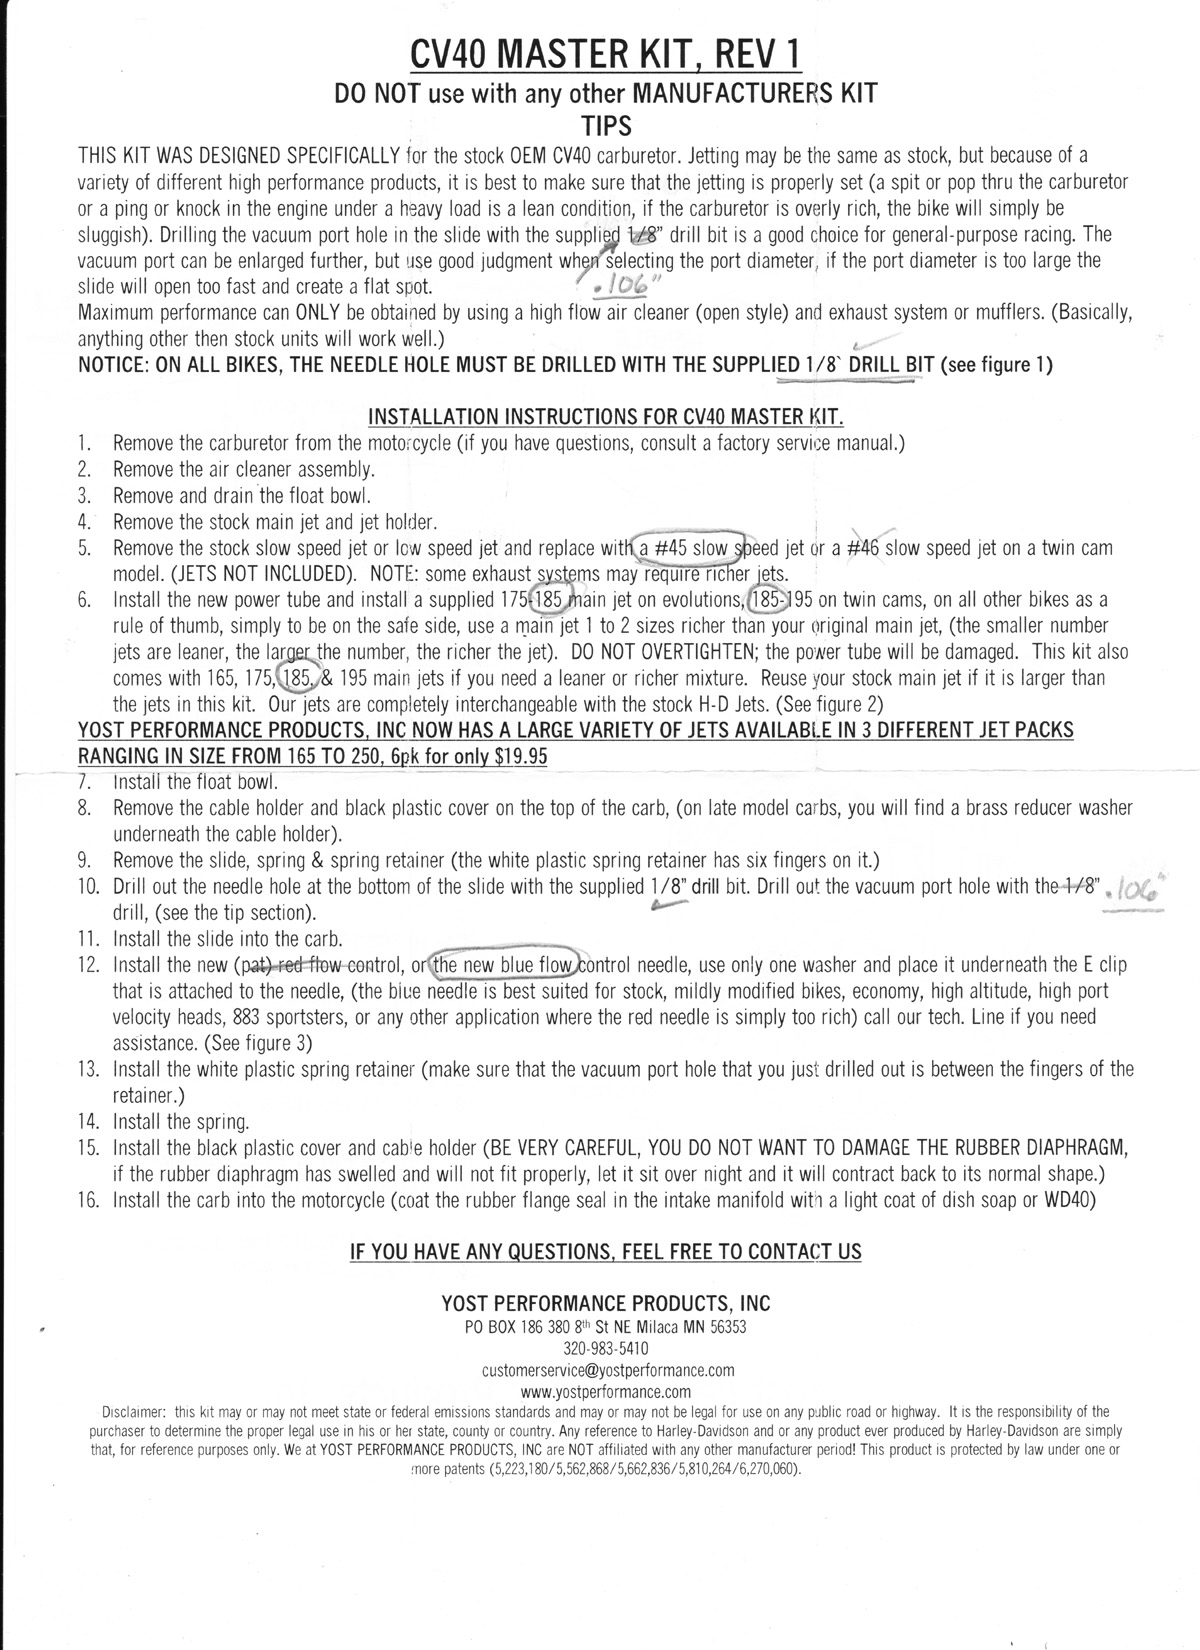
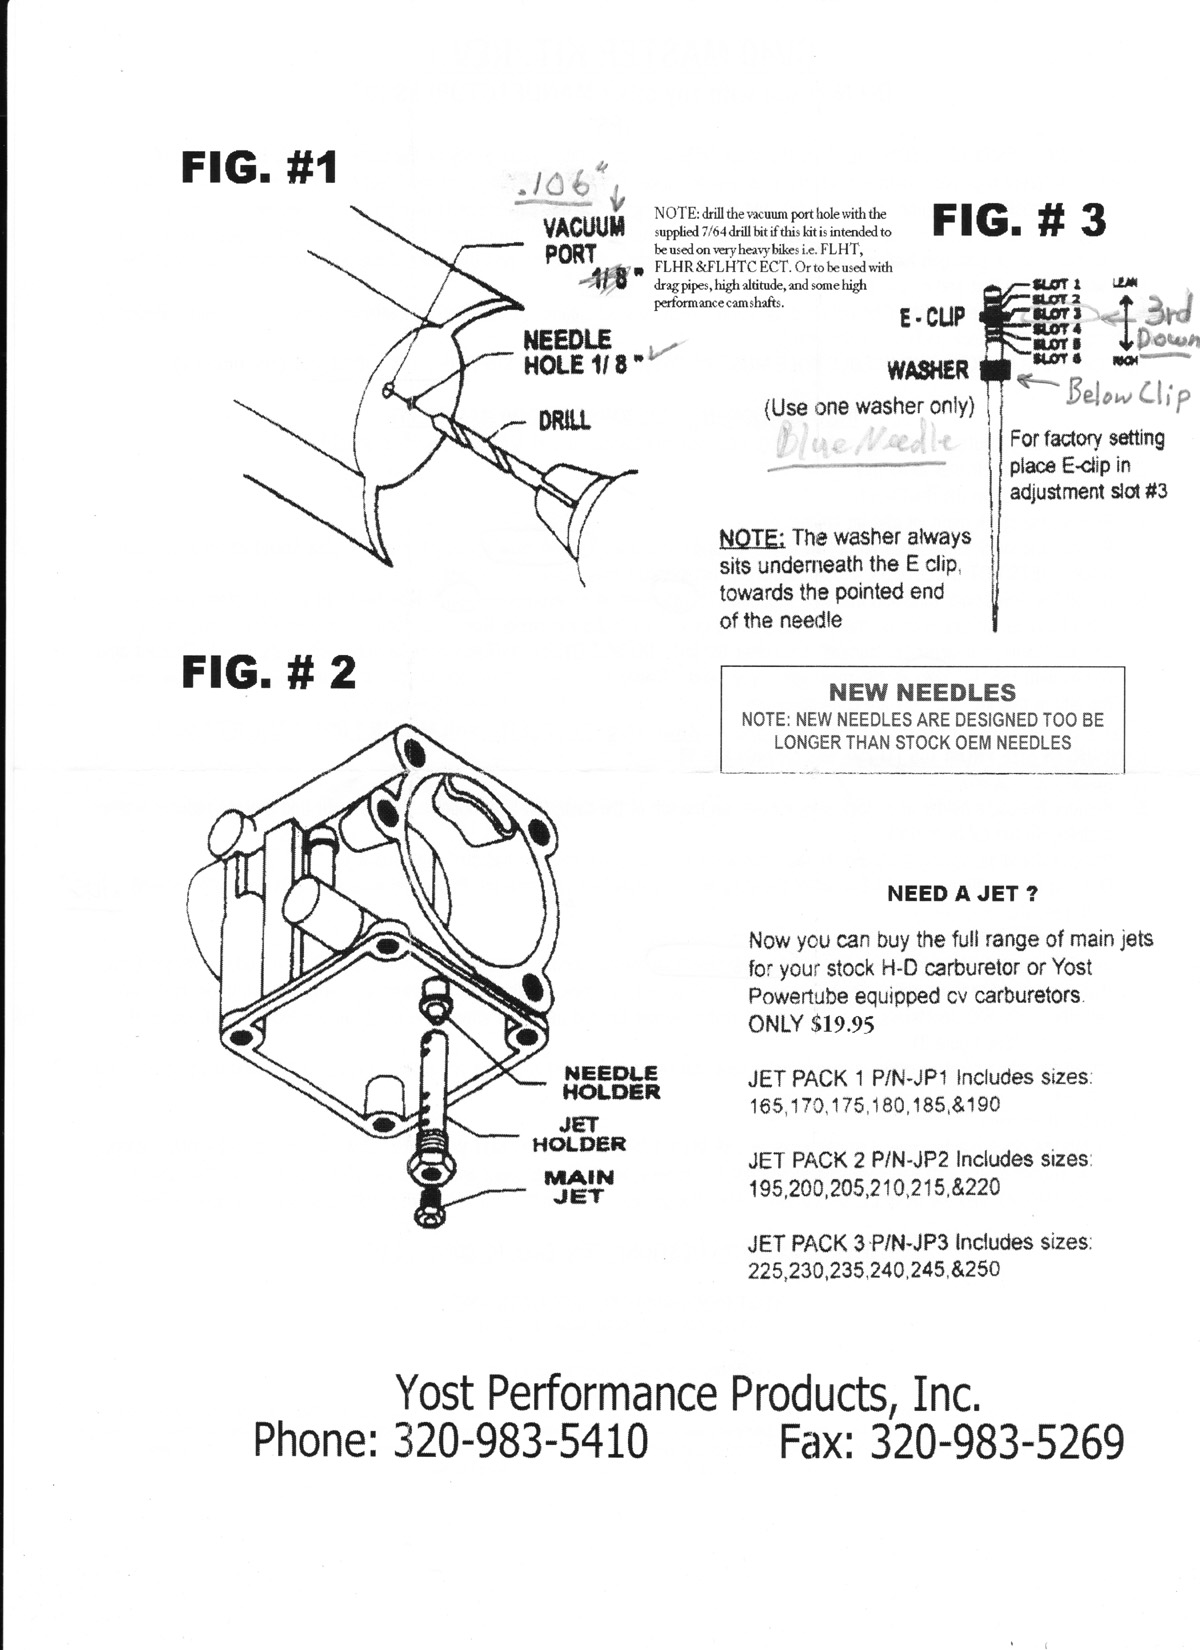
Now, for proper "Dyno Tuned" jetting, and setup. The slide vacuum hole needs to be drilled to .106" (stock is .093"). I have reduced this hole size on used CV's that have been over-drilled by using "JB-Weld" to fill the hole, then I drill it for .106". I use some lacquer thinner to clean out the large hole first. Then I add a small piece of masking tape over the hole on the bottom of the slide. I take a skinny piece of wire to pick up a small amount of JB-Weld, and I fill the hole from the inside of the slide. I put in enough to make a small mound over the hole. Make sure to let it harden for at least (2) days. Then drill it to .106". I have reduced these holes on carbs that have been in service for years. Next, use the spring that was provided in the kit. You need a stiff spring! Next, you need to use a #45 low speed jet in ALL cases. But, get a real "Keihin" jet, because some of the aftermarket jets give incorrect results. Get a #45 low speed jet from your local H-D store, if I am not providing you with one. Next, use the "Blue" needle provided in the kit. It has a slightly richer mid-range nature than the "Red" needle. I use the 3rd clip from the top in most cases, but if it feels a little weak at mid throttle openings, try the 4th clip position from the top. This is something that YOU the rider will need to determine as the best position. Most 74" motors will like the 3rd clip down. The small brass bushing in the kit goes under the needle clip! Next is the main jet size. These CV carbs are altitude compensating to a large degree. So, you can pick a jet that will work from Sea Level all the way up to over 10,000' elevation. I have found that a #175 main jet is just right for a 74" stock motor, but an 80" motor likes the #185 main jet better, especially at Sea Level, or in hot conditions. The #185 is already a bit too rich, but that's OK. It helps when it's hot. Don't go bigger than a #185, because it will just waste fuel. Next, the mixture screw. On the CV's I have found that there can be very little change in idle speed with the mixture screw. I have found that 3 1/4 turns out is a good average setting. Next, make sure to plug the vacuum tap on top of the carb's outlet. Check it every few years to see if the rubber has died. Always use some kind of fuel filter.
Make sure you do the ignition "Timing Mod", where you modify the upper timing bracket to reduce the amount of advance/retard sweep. This is essential! The motor should retard to TDC, and full advance should be 23 degrees BTDC! Do it!
Starting, and operation: On a cold start, turn on the fuel tap, pull on the choke, retard the spark, give it (3 or 4) pumps with the throttle. With the throttle off, kick the bike over. When it starts, give it full advance while it warms up. As it warms up, slowly reduce the amount of choke to lower the idle speed. The CV requires a certain amount of warm-up time before taking off. Once the bike is warm, and you have a hard time getting it to fire, don't pump more fuel into it. You can flood it! Just open the throttle about 1/8 throttle and kick. It should start right up.
Important!-Do Not Drill Out The Slide Vacuum Hole Larger Than .106"! The Kit includes a 1/8" drill bit. It is too large, and can cause stumbling when throttle position is slightly opened. The 1/8" drill bit is for the needle hole in the slide.
Important-Read Each Catagory Below for Full Details!